How to set up the best Windows power plan for gaming
Power tuning guide for faster CPU responsiveness, reduced boost delay, and predictable long-session performance.
The problem
The CPU ramps up too slowly or throttles mid-match because Windows is running a balanced, power-saving plan.
The fix
Pick the right baseline plan, apply performance-focused options, and validate under sustained load — not just a 2-minute benchmark.
Why this guide matters
A good gaming power profile is not always the most aggressive profile. It is the one that keeps clocks responsive without creating thermal instability or noisy throttling cycles.
Your power workflow should always include long-session validation. Many settings look fine in a short benchmark and fail after 30 minutes of real gameplay.
Before you start
- Monitor CPU/GPU clocks and thermals during a real game session.
- Set a stable fan profile if your platform supports it.
- Compare Balanced baseline versus tuned profile with the same scene.
Step-by-step workflow
Select the right baseline
Apply this phase in isolation, then validate before moving forward. The goal is measurable improvement in stability and responsiveness, not maximum tweak count.
- Start with Balanced for stability checks, then compare with performance plans.
- Use desktop and laptop profiles separately.
- Avoid forcing aggressive settings on thermally constrained devices.
Apply performance-focused options
Apply this phase in isolation, then validate before moving forward. The goal is measurable improvement in stability and responsiveness, not maximum tweak count.
- Favor settings that improve CPU ramp and reduce idle wake delay.
- Disable unnecessary sleep transitions during active sessions.
- Keep fan and thermal strategy aligned with sustained load.
Validate under real load
Apply this phase in isolation, then validate before moving forward. The goal is measurable improvement in stability and responsiveness, not maximum tweak count.
- Run a 30-minute session in your main game.
- Check clocks, thermals, and frame time variance.
- Choose the profile with best stability, not the highest short peak.
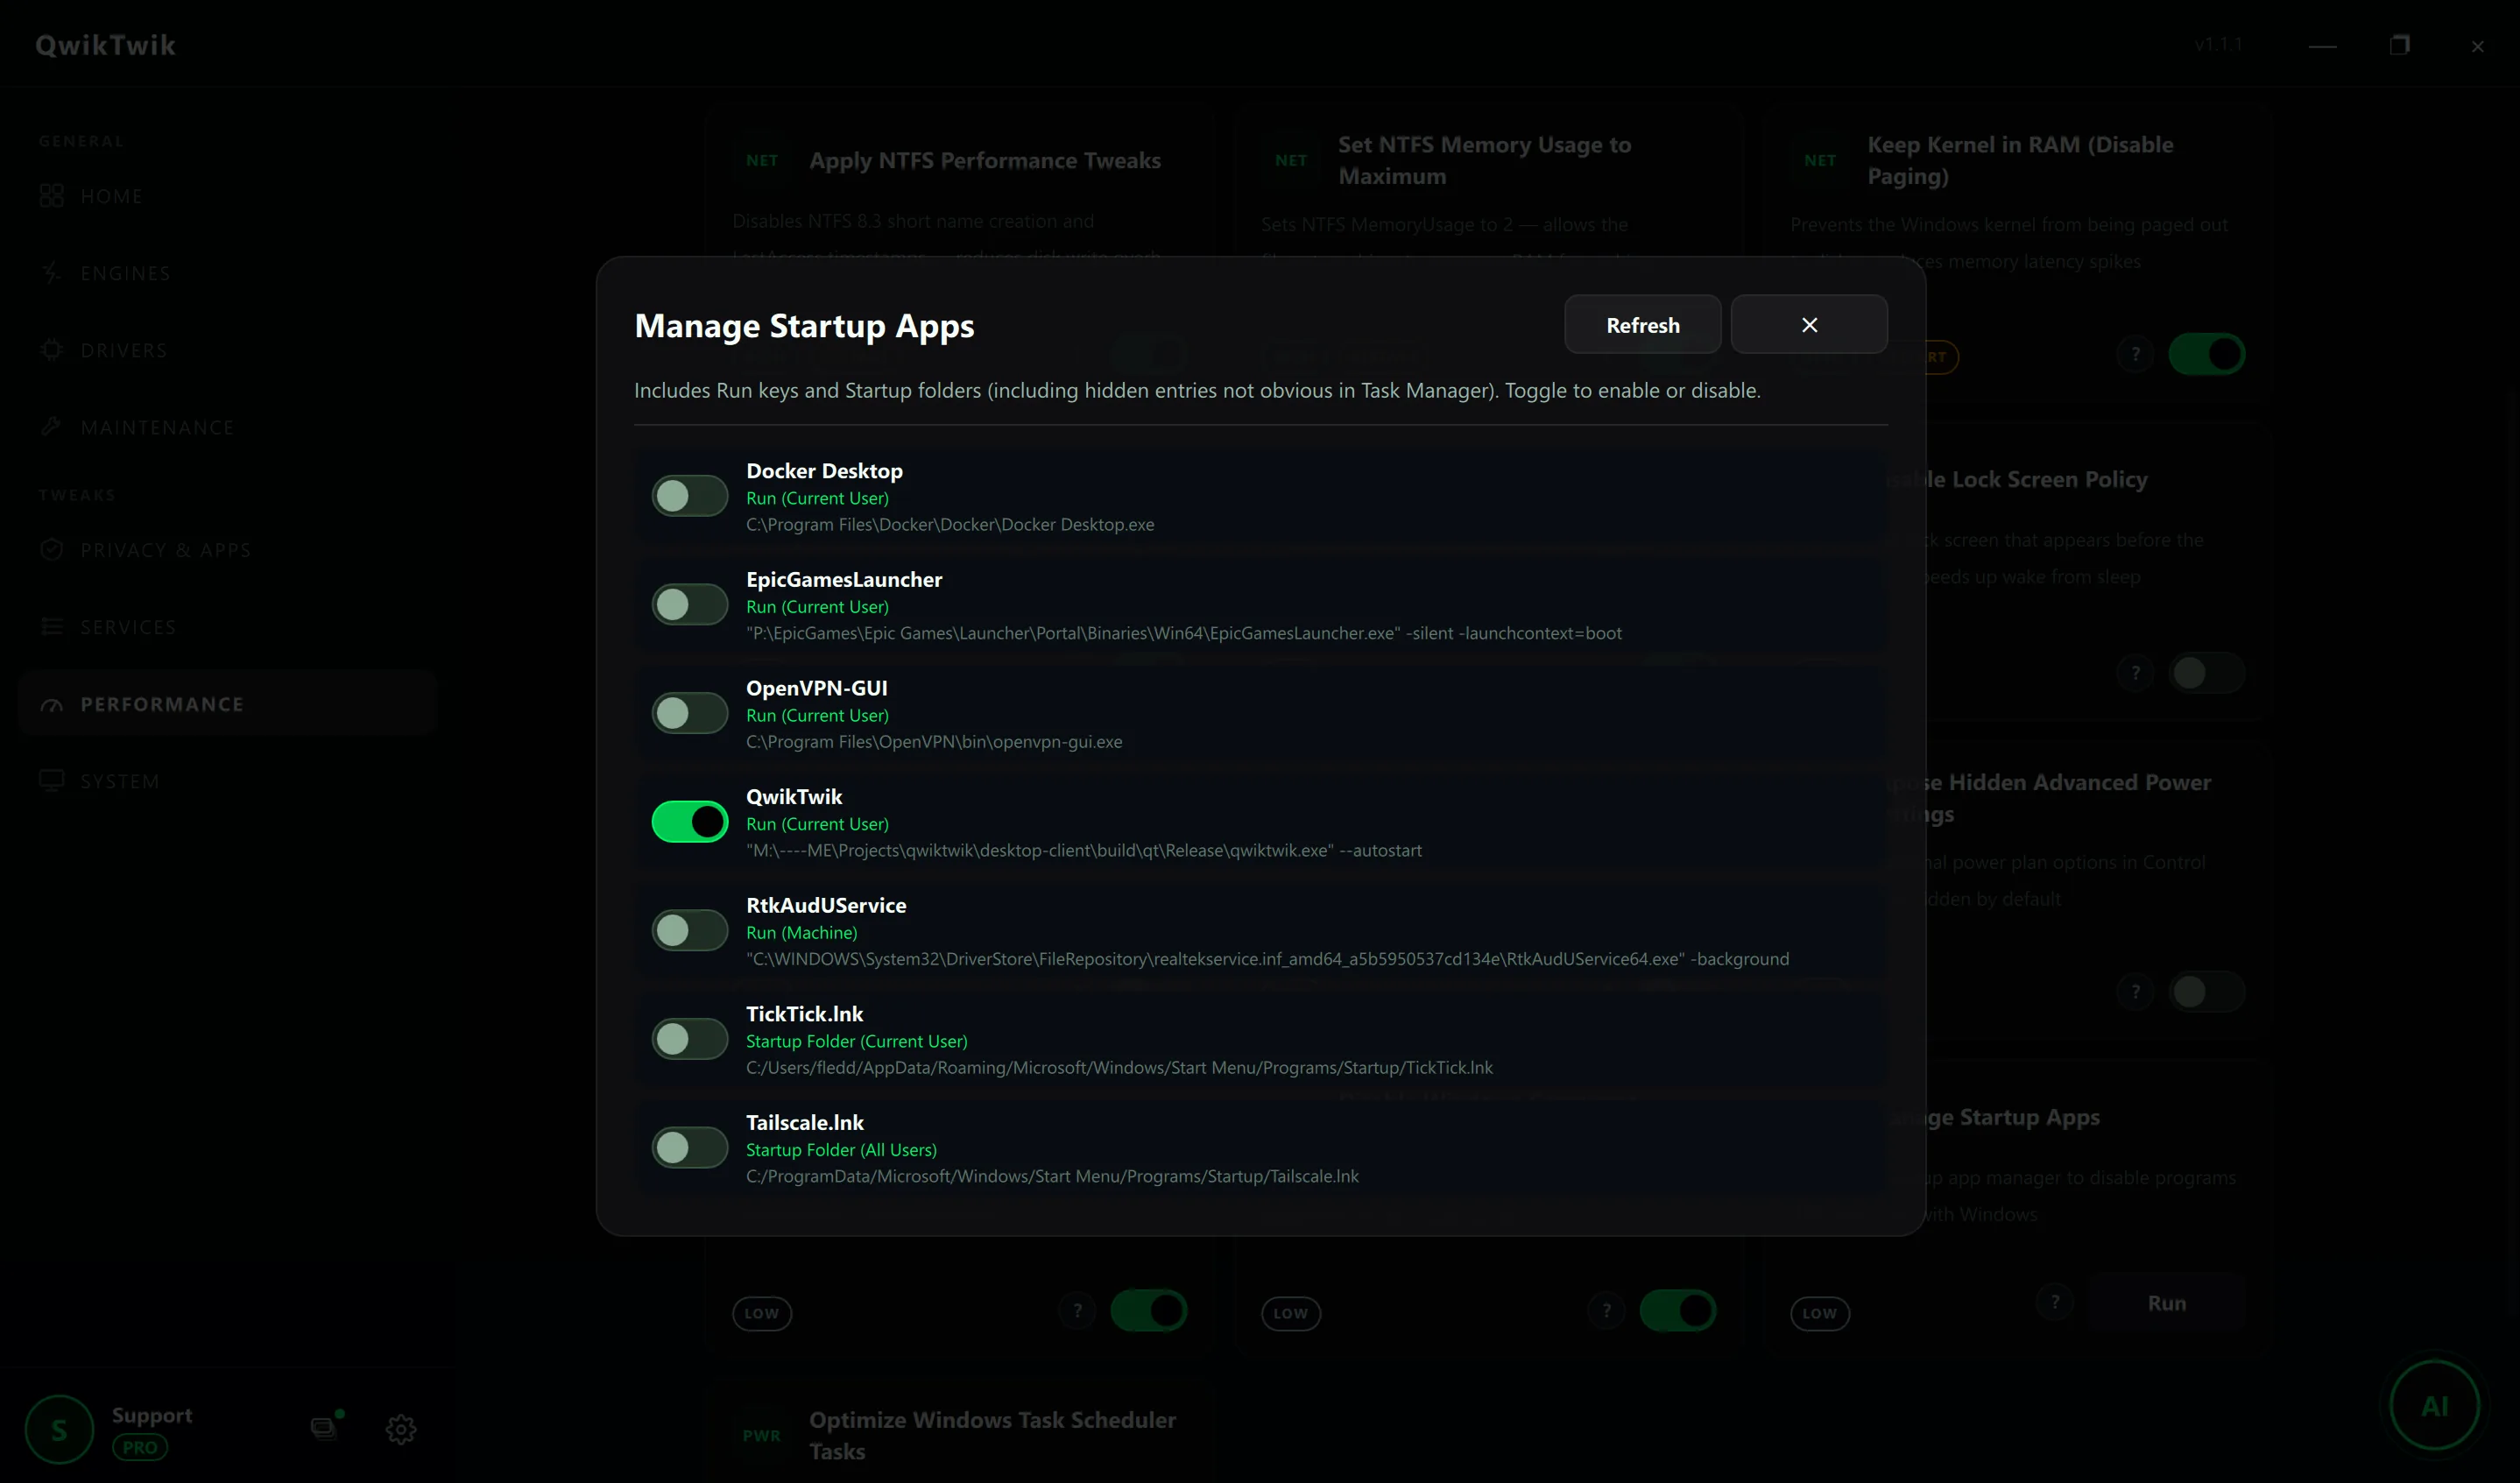
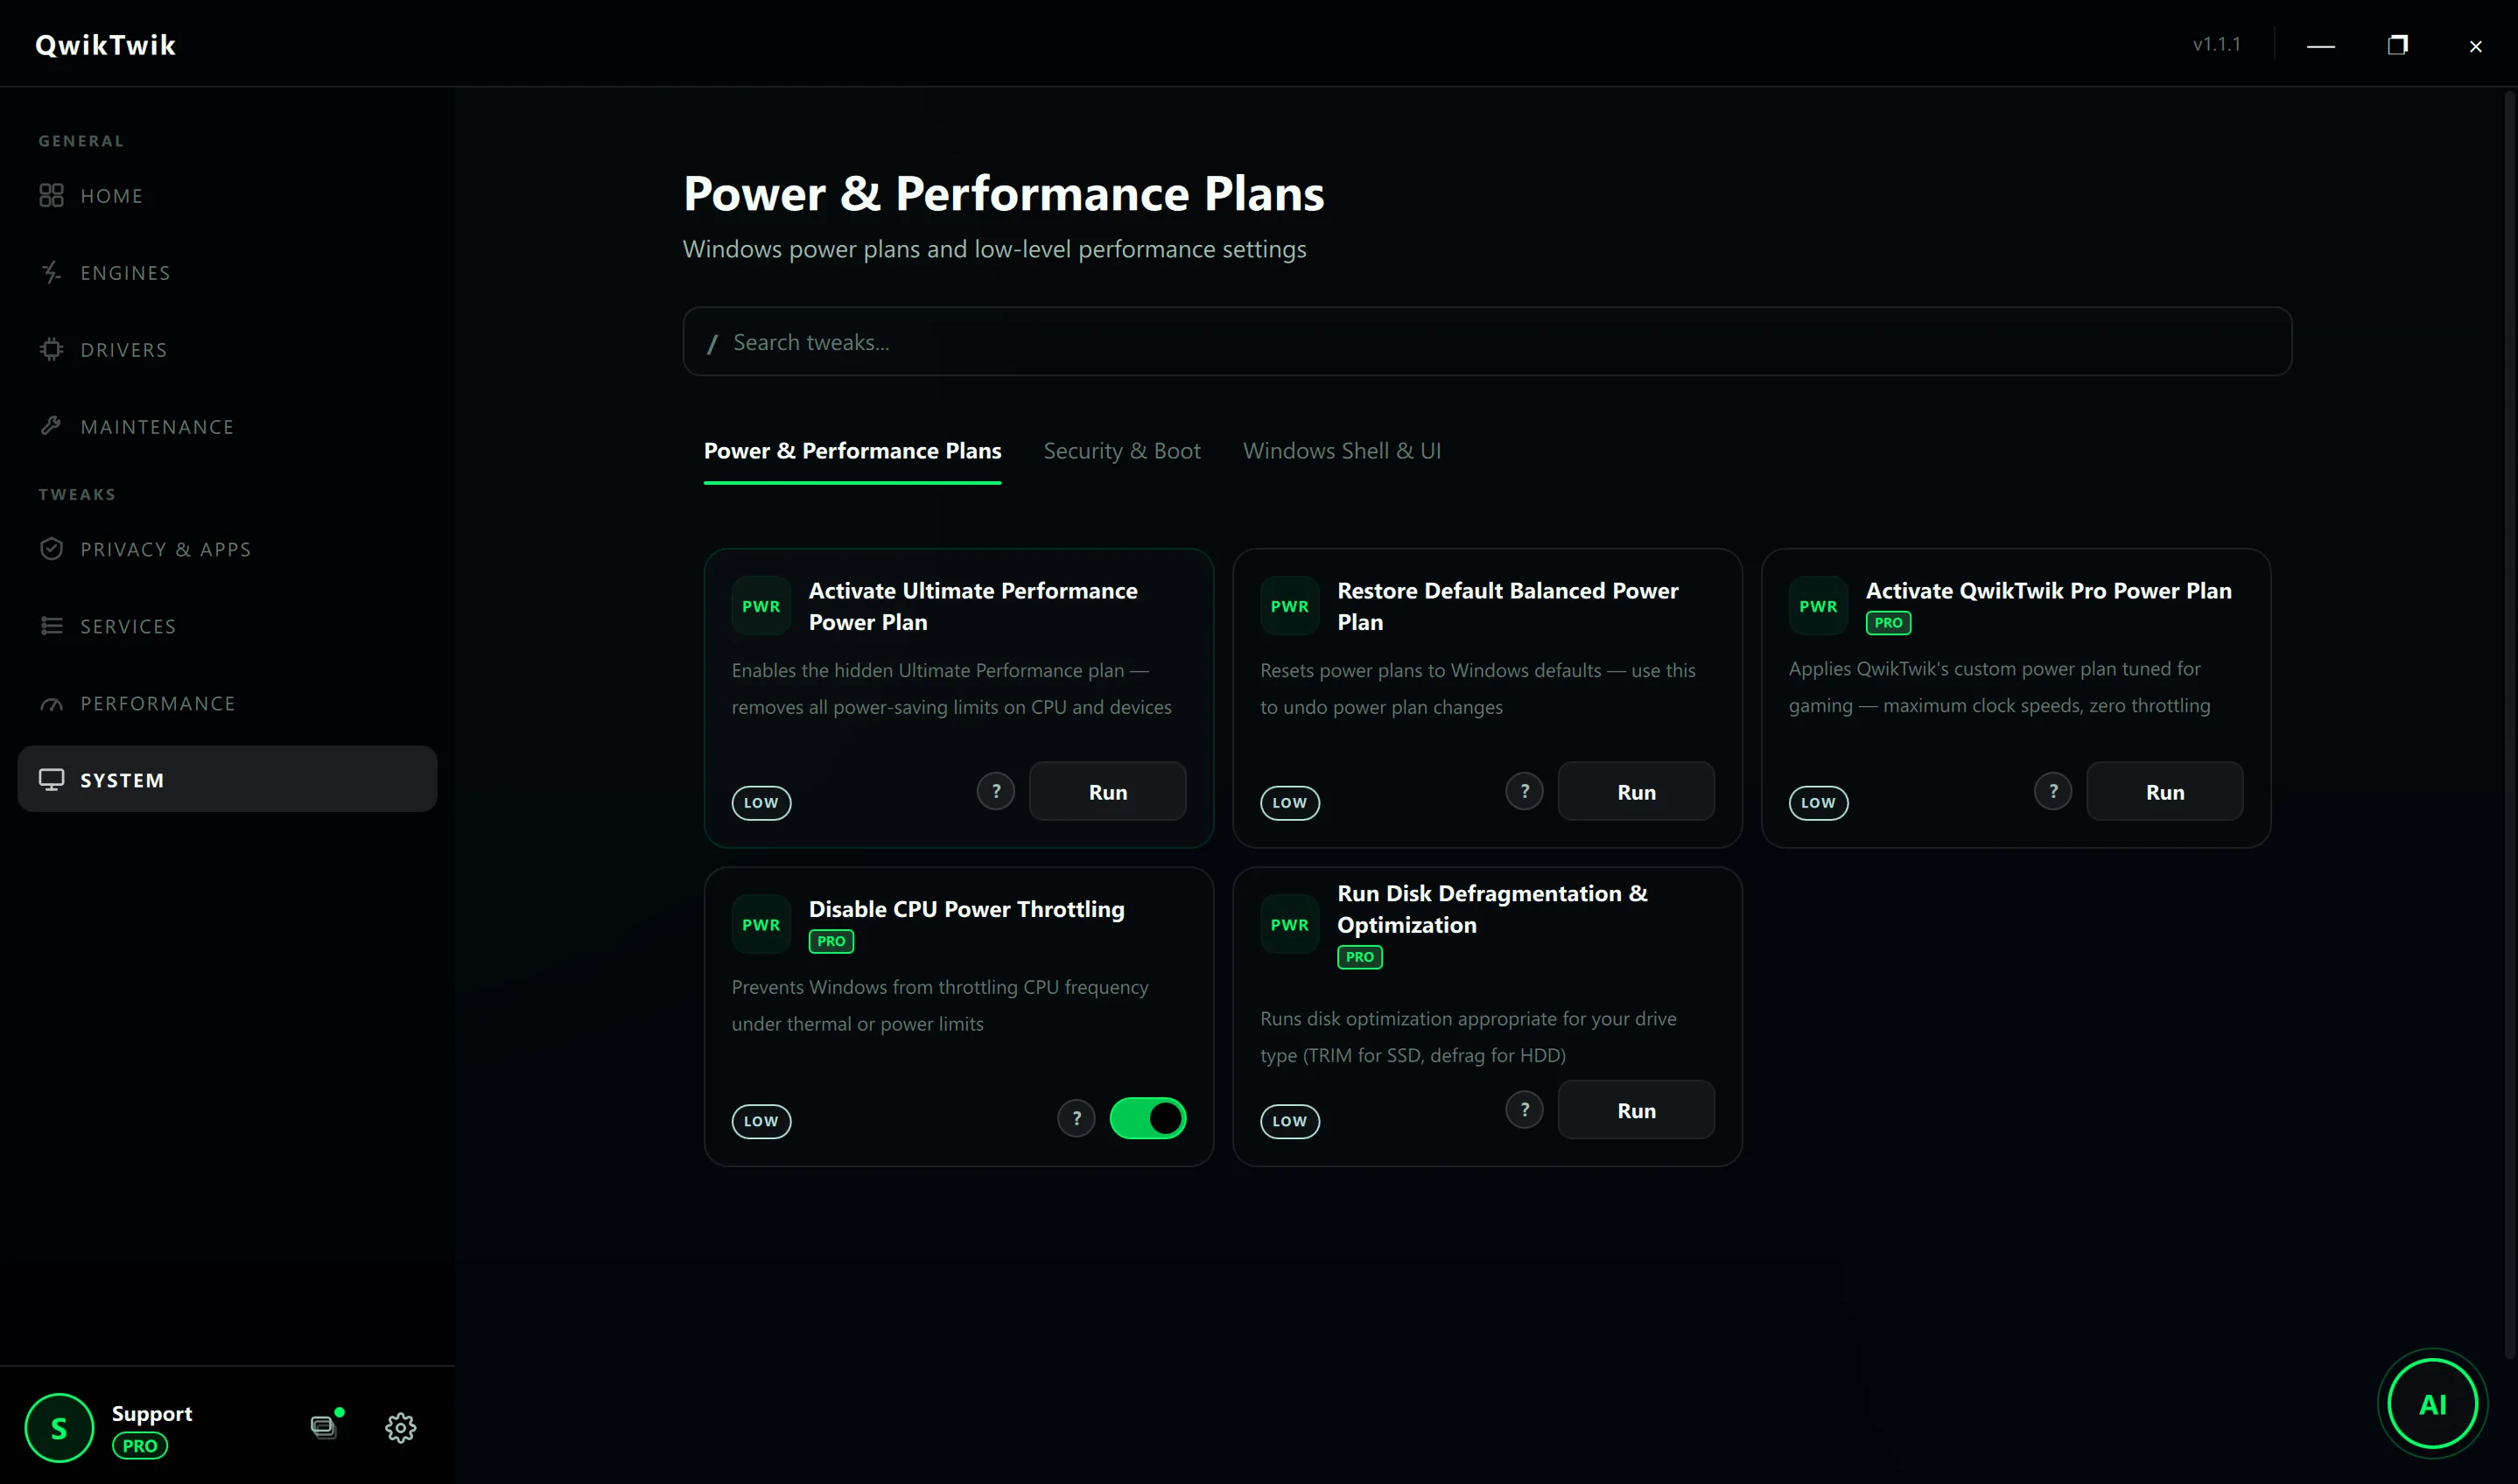
How to run this inside QwikTwik
Start from the Free tools to build a stable baseline. Each path below maps to a real tab in the QwikTwik desktop app — open the named tab and apply items in the listed order.
Free path
- System > Power & Performance Plans: Activate Ultimate Performance Power Plan as a starting comparison.
- System > Power & Performance Plans: Restore Default Balanced Power Plan whenever you need a clean baseline.
- System > Security & Boot: Disable Fast Startup (Hybrid Boot) before deep power testing.
- System > Windows Shell & UI: Disable Hibernation File if you do not need hibernate.
Optional Pro tweaks
- System > Power & Performance Plans: Activate QwikTwik Pro Power Plan on desktop systems with verified cooling.
- System > Power & Performance Plans: Disable CPU Power Throttling only after thermal monitoring.
- Performance > CPU & Memory: Set High-Precision Timer Resolution to pair with the Pro power plan.
If something breaks
- Maintenance > Repair & Recovery > System Repair: Restore Hibernation, Restore Update Screen State.
- System > Power & Performance Plans: Restore Default Balanced Power Plan rolls back any custom profile.
- Home > Backups: Create a System Restore Point before high-impact power policies.
Validation checklist
- Lower frequency of downclock spikes under sustained load.
- No thermal runaway or unstable fan oscillation.
- Frame-time consistency improves for long sessions.
Common mistakes to avoid
- Using desktop-style aggressive profile on thin laptops.
- Ignoring thermal limits while chasing top benchmark numbers.
- Forgetting to compare against real gameplay, not just synthetic tests.