How to optimize Windows 11 for gaming
A practical workflow to remove background overhead, tune power, and keep frame times stable for competitive games.
The problem
Windows 11 feels heavy in games — background apps, telemetry, and default power settings eat into frame times.
The fix
A repeatable order of operations: clean baseline, controlled tweaks, then validate against real gameplay instead of guessing.
Why this guide matters
Optimizing Windows 11 for gaming is not one tweak. It is a sequence: clean baseline, controlled changes, and repeatable validation. The most common reason people get unstable results is applying too many unrelated changes in one pass.
A practical approach is to start with Maintenance and Privacy controls to reduce background pressure and UI overhead, then benchmark frame-time consistency in your real game scenario. Only after that should you test the Pro bundles in Performance and System tabs.
Before you start
- Update GPU and chipset drivers first (Drivers > Driver Advisor) then reboot.
- Create a restore point in Home > Backups before changing service or policy-heavy settings.
- Close overlays and non-essential startup apps for clean test conditions.
Step-by-step workflow
Start with a clean baseline
Apply this phase in isolation, then validate before moving forward. The goal is measurable improvement in stability and responsiveness, not maximum tweak count.
- Update GPU and chipset drivers first, then reboot before tuning.
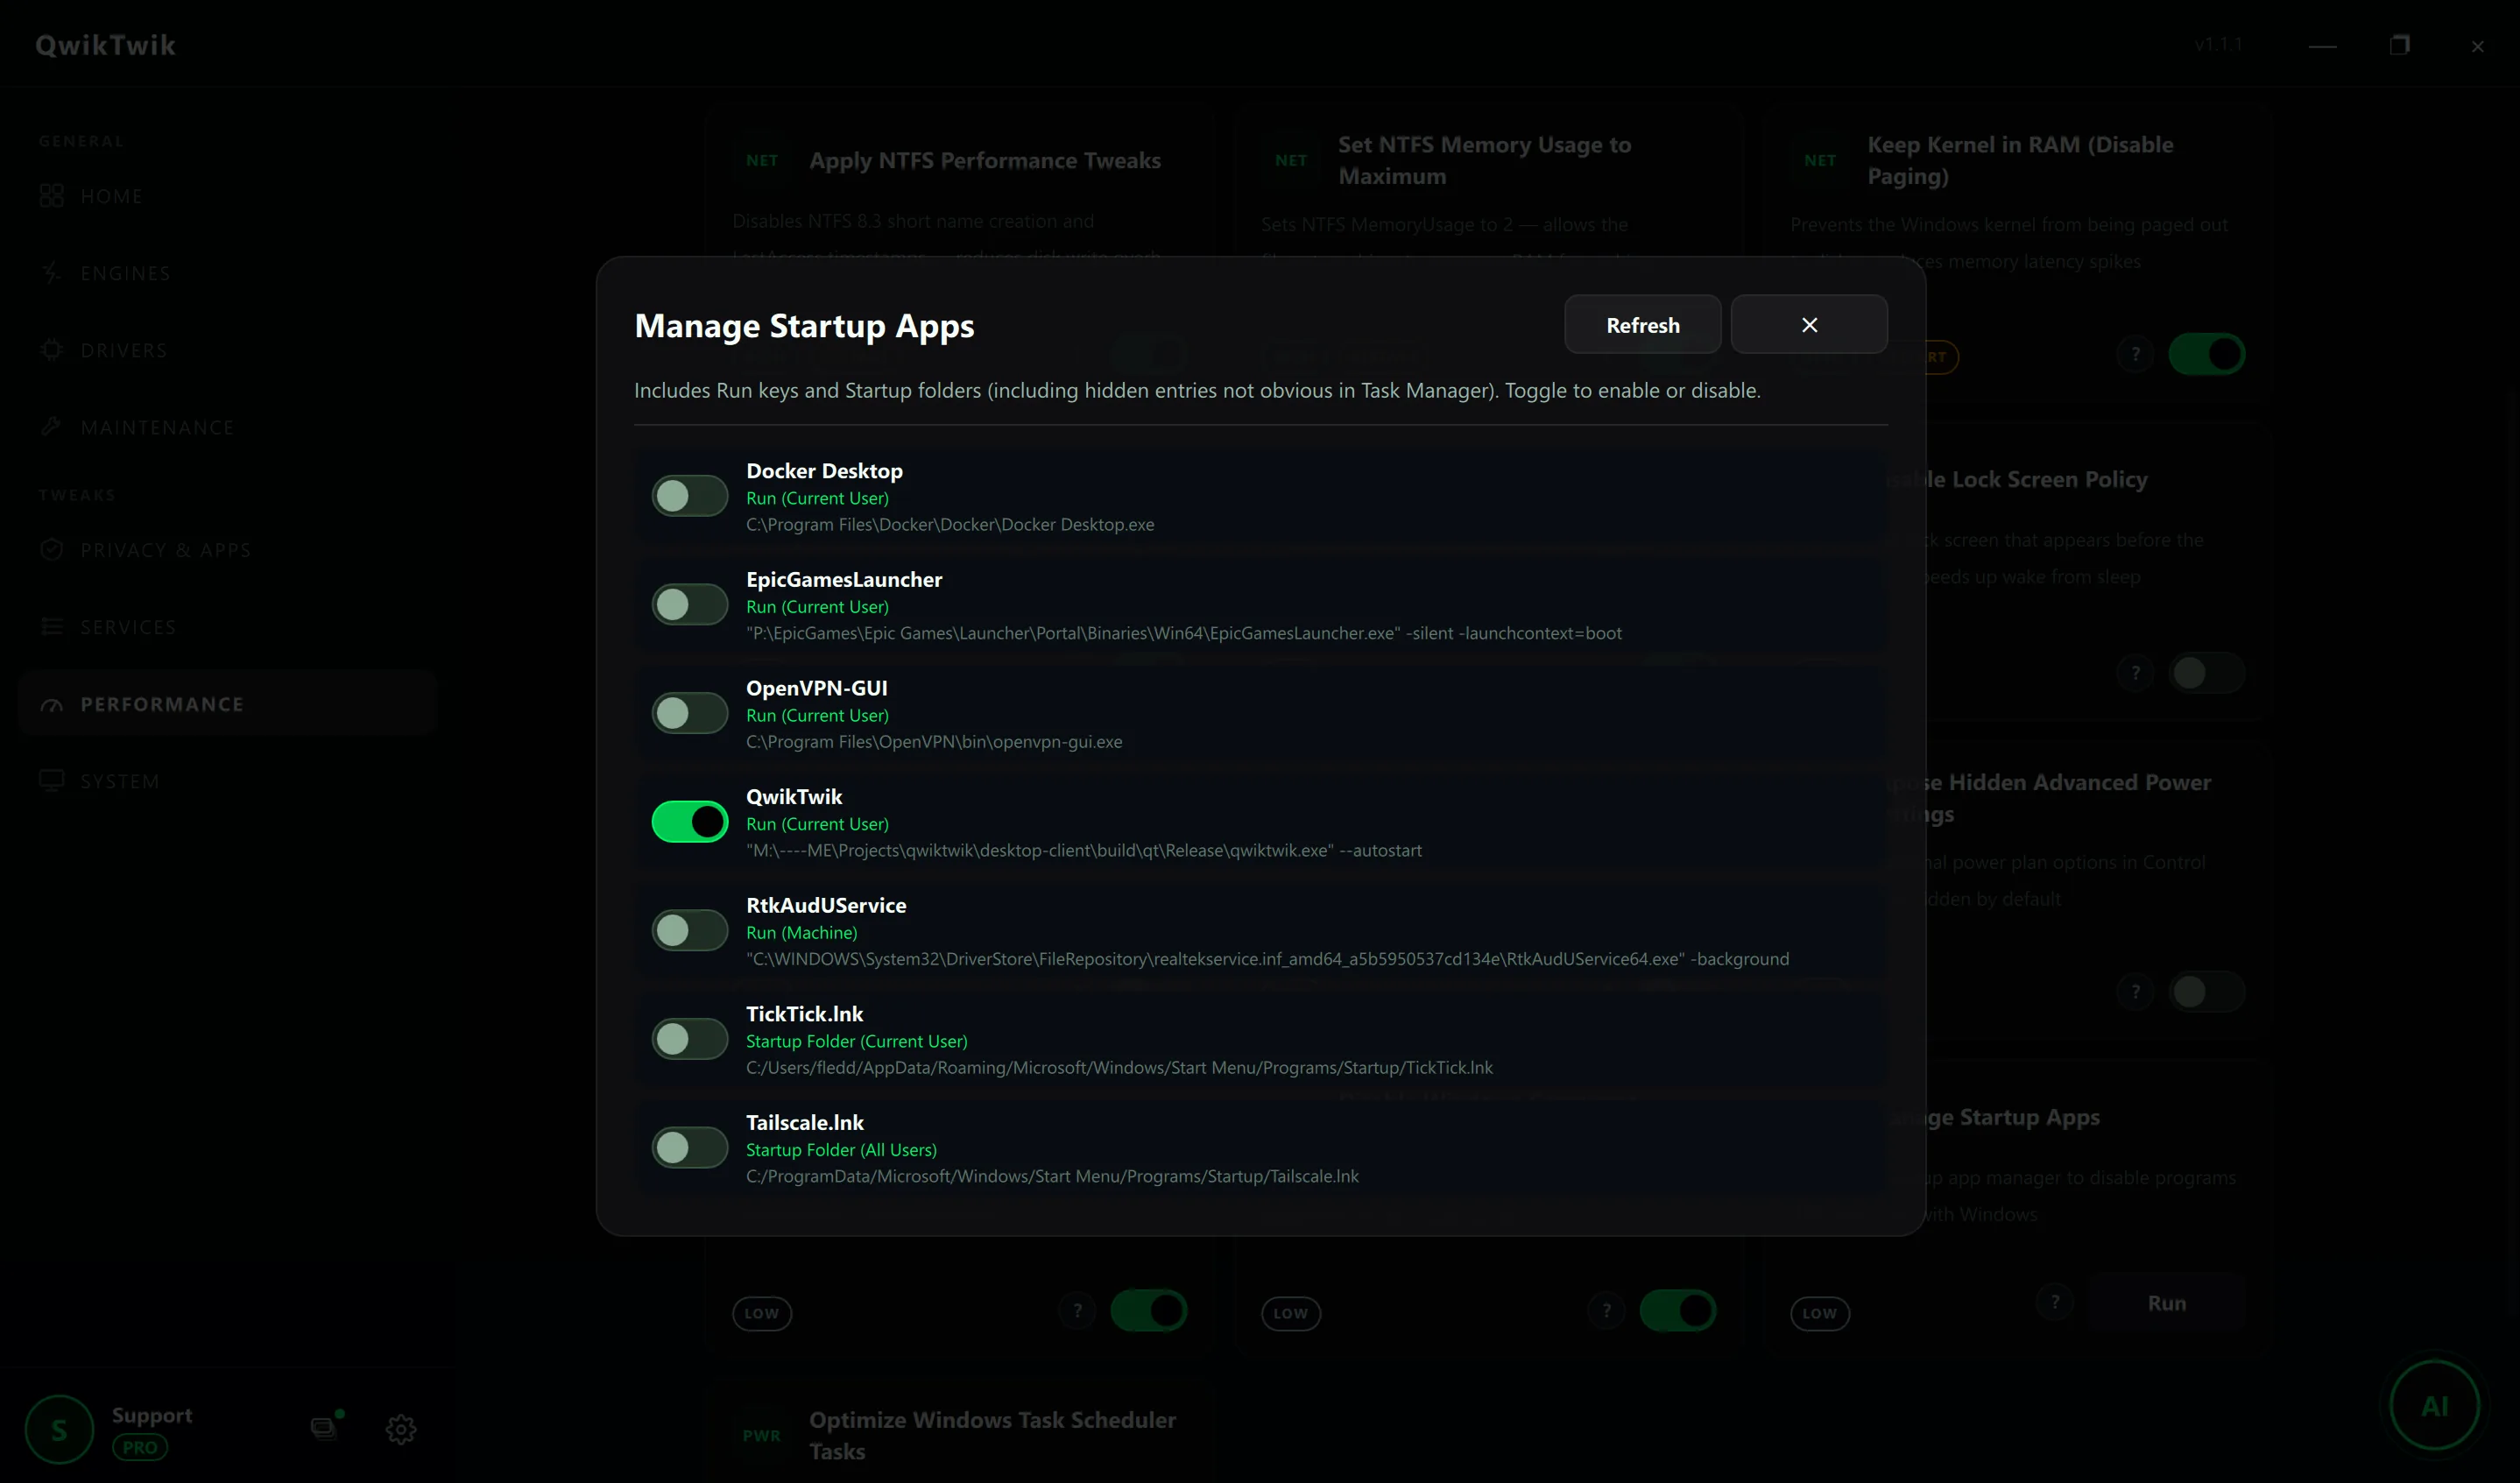
- Disable startup apps you do not need during gameplay sessions.
- Create a restore point so any aggressive tweak can be reverted quickly.
Apply core performance settings
Apply this phase in isolation, then validate before moving forward. The goal is measurable improvement in stability and responsiveness, not maximum tweak count.
- Use a performance-focused power plan to avoid slow CPU ramp-up.
- Reduce unnecessary visual effects to lower compositor load.
- Keep game files and shader cache on the fastest available SSD.
Validate with real gameplay
Apply this phase in isolation, then validate before moving forward. The goal is measurable improvement in stability and responsiveness, not maximum tweak count.
- Benchmark frame time consistency, not only average FPS.
- Check thermals after 20-30 minutes in a real match.
- Roll back the last change if input feel or stability gets worse.
How to run this inside QwikTwik
Start from the Free tools to build a stable baseline. Each path below maps to a real tab in the QwikTwik desktop app — open the named tab and apply items in the listed order.
Free path
- Home > Backups: Create a System Restore Point before any tweak session.
- Maintenance > Cleanup & Cache: Clean All Temporary Data, Flush DNS Cache, Trim RAM Working Sets.
- System > Windows Shell & UI: Optimize Visual Effects for Performance, Disable All Windows Notifications.
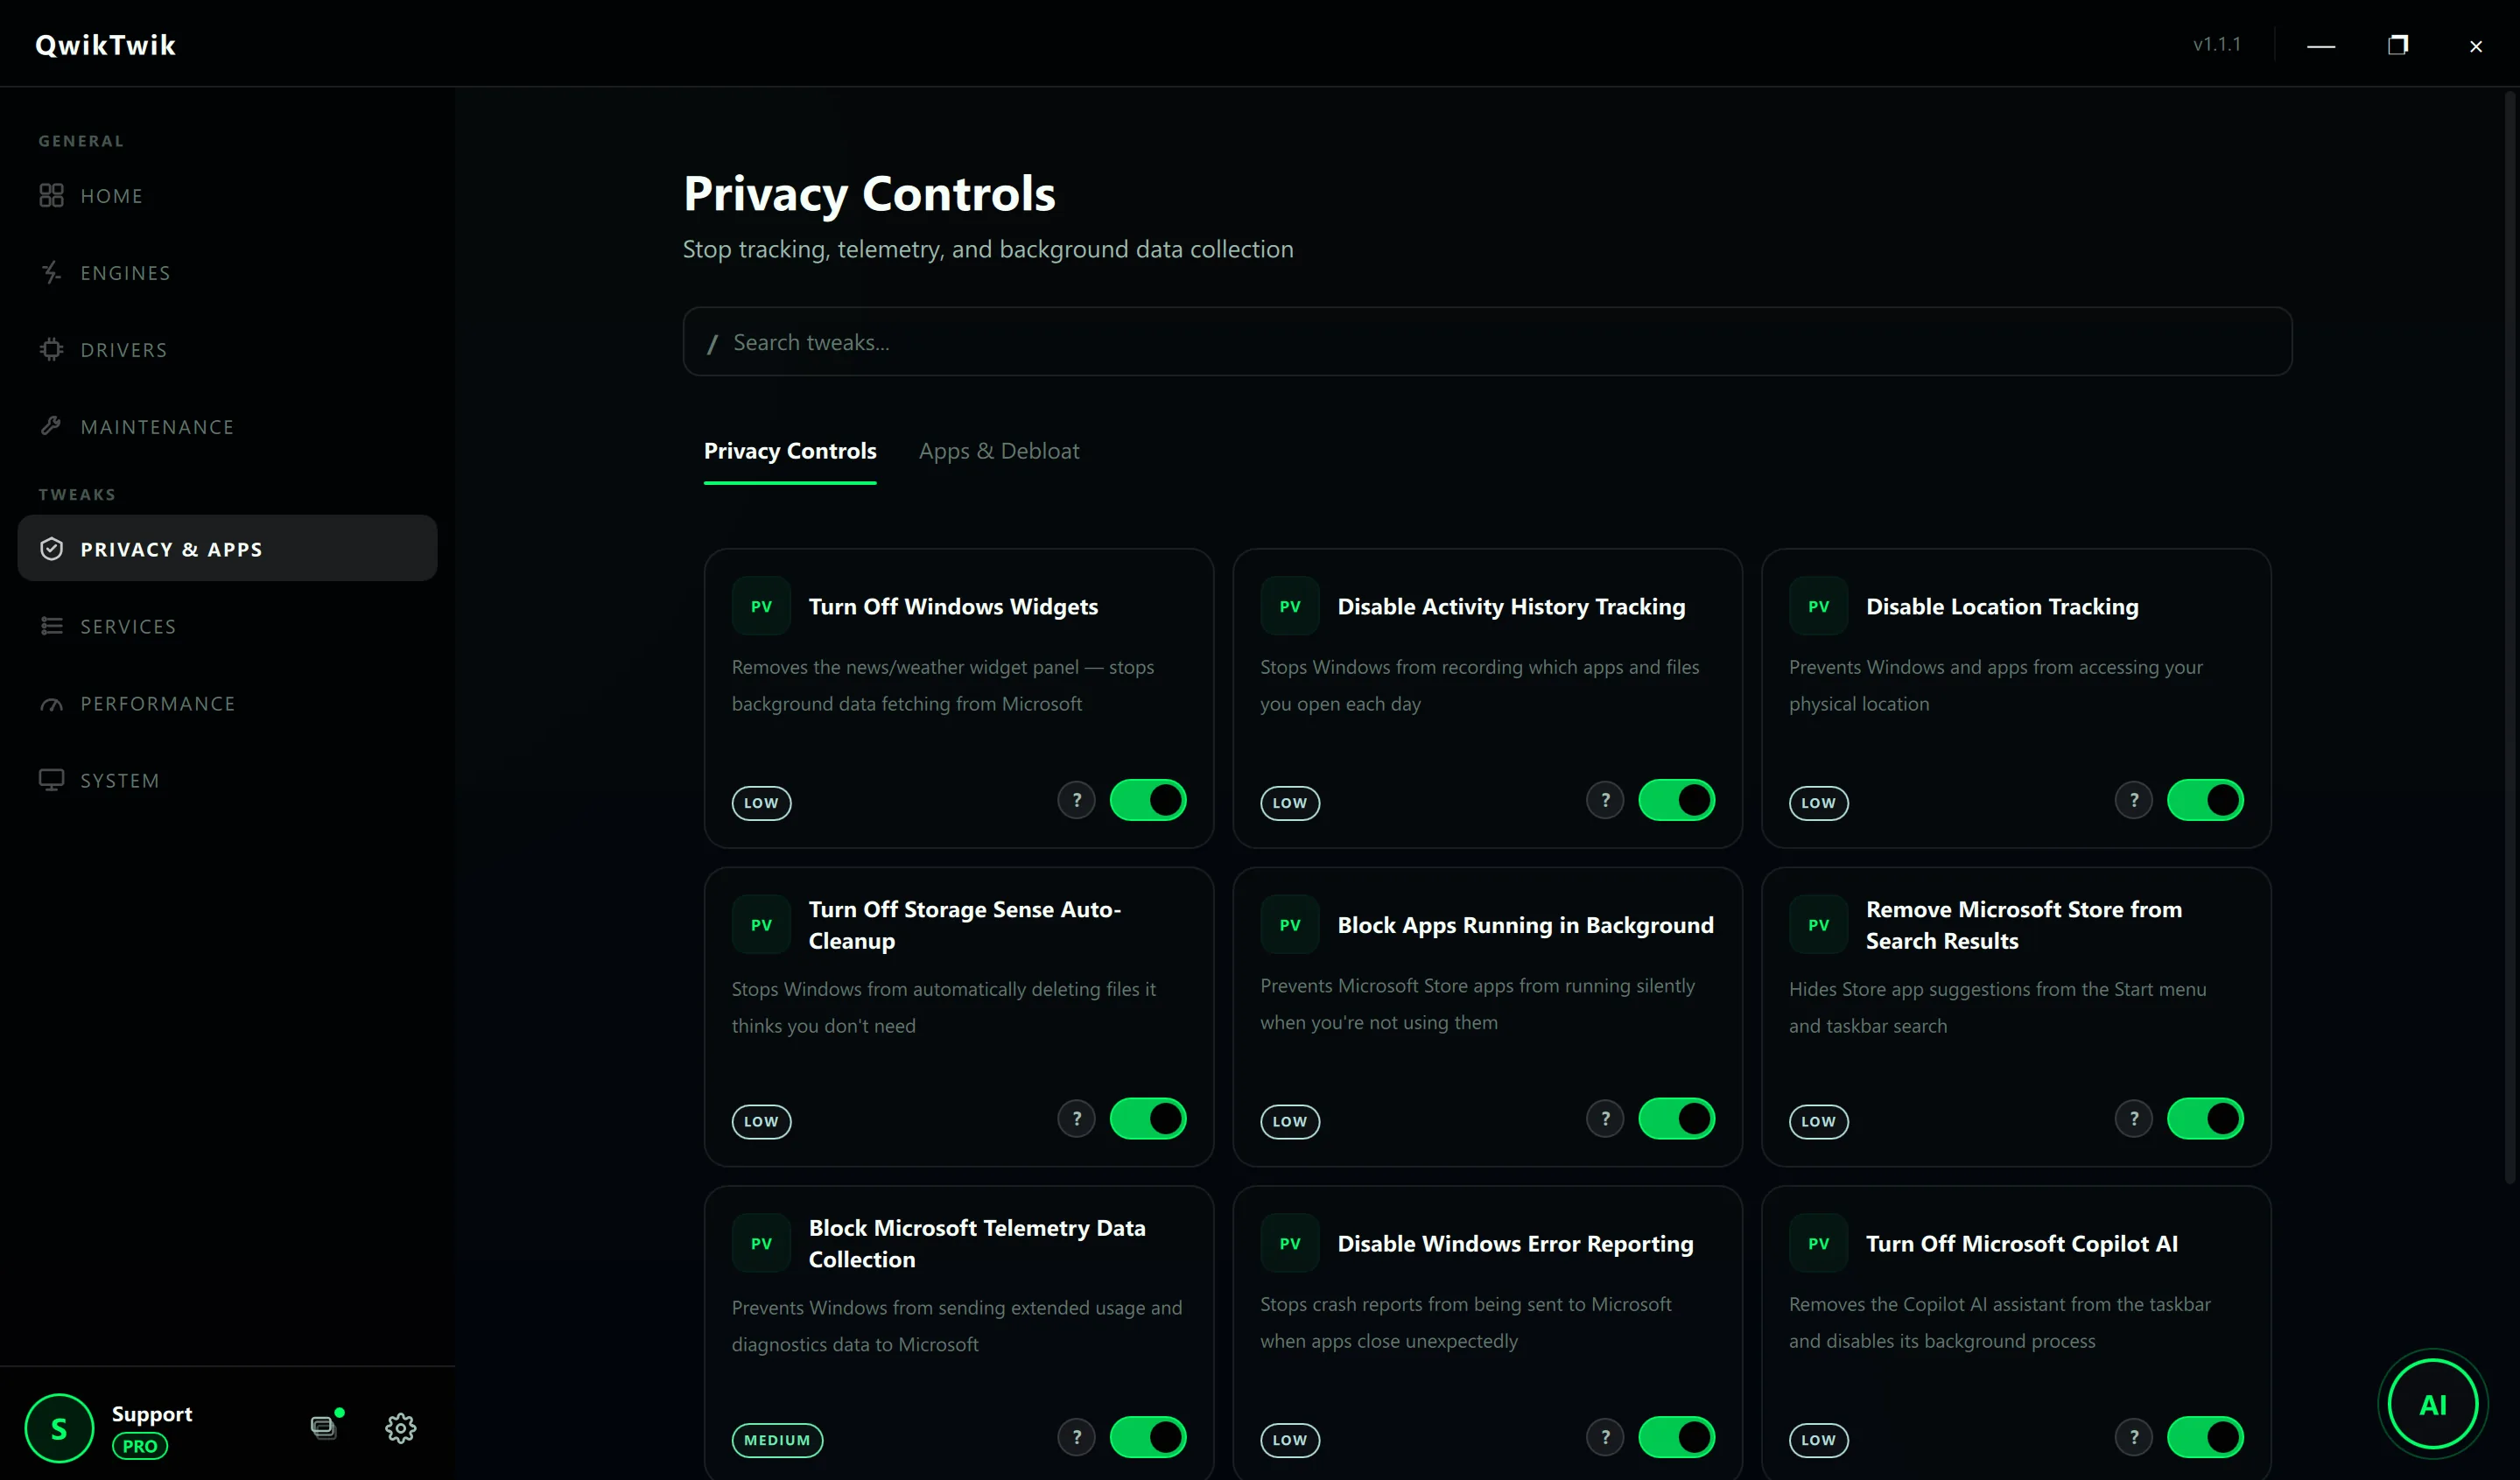
- Privacy & Apps > Privacy Controls: Disable Activity History Tracking, Block Apps Running in Background.
Optional Pro tweaks
- Performance > CPU & Memory: Apply Recommended CPU Tweaks (one-click Pro bundle).
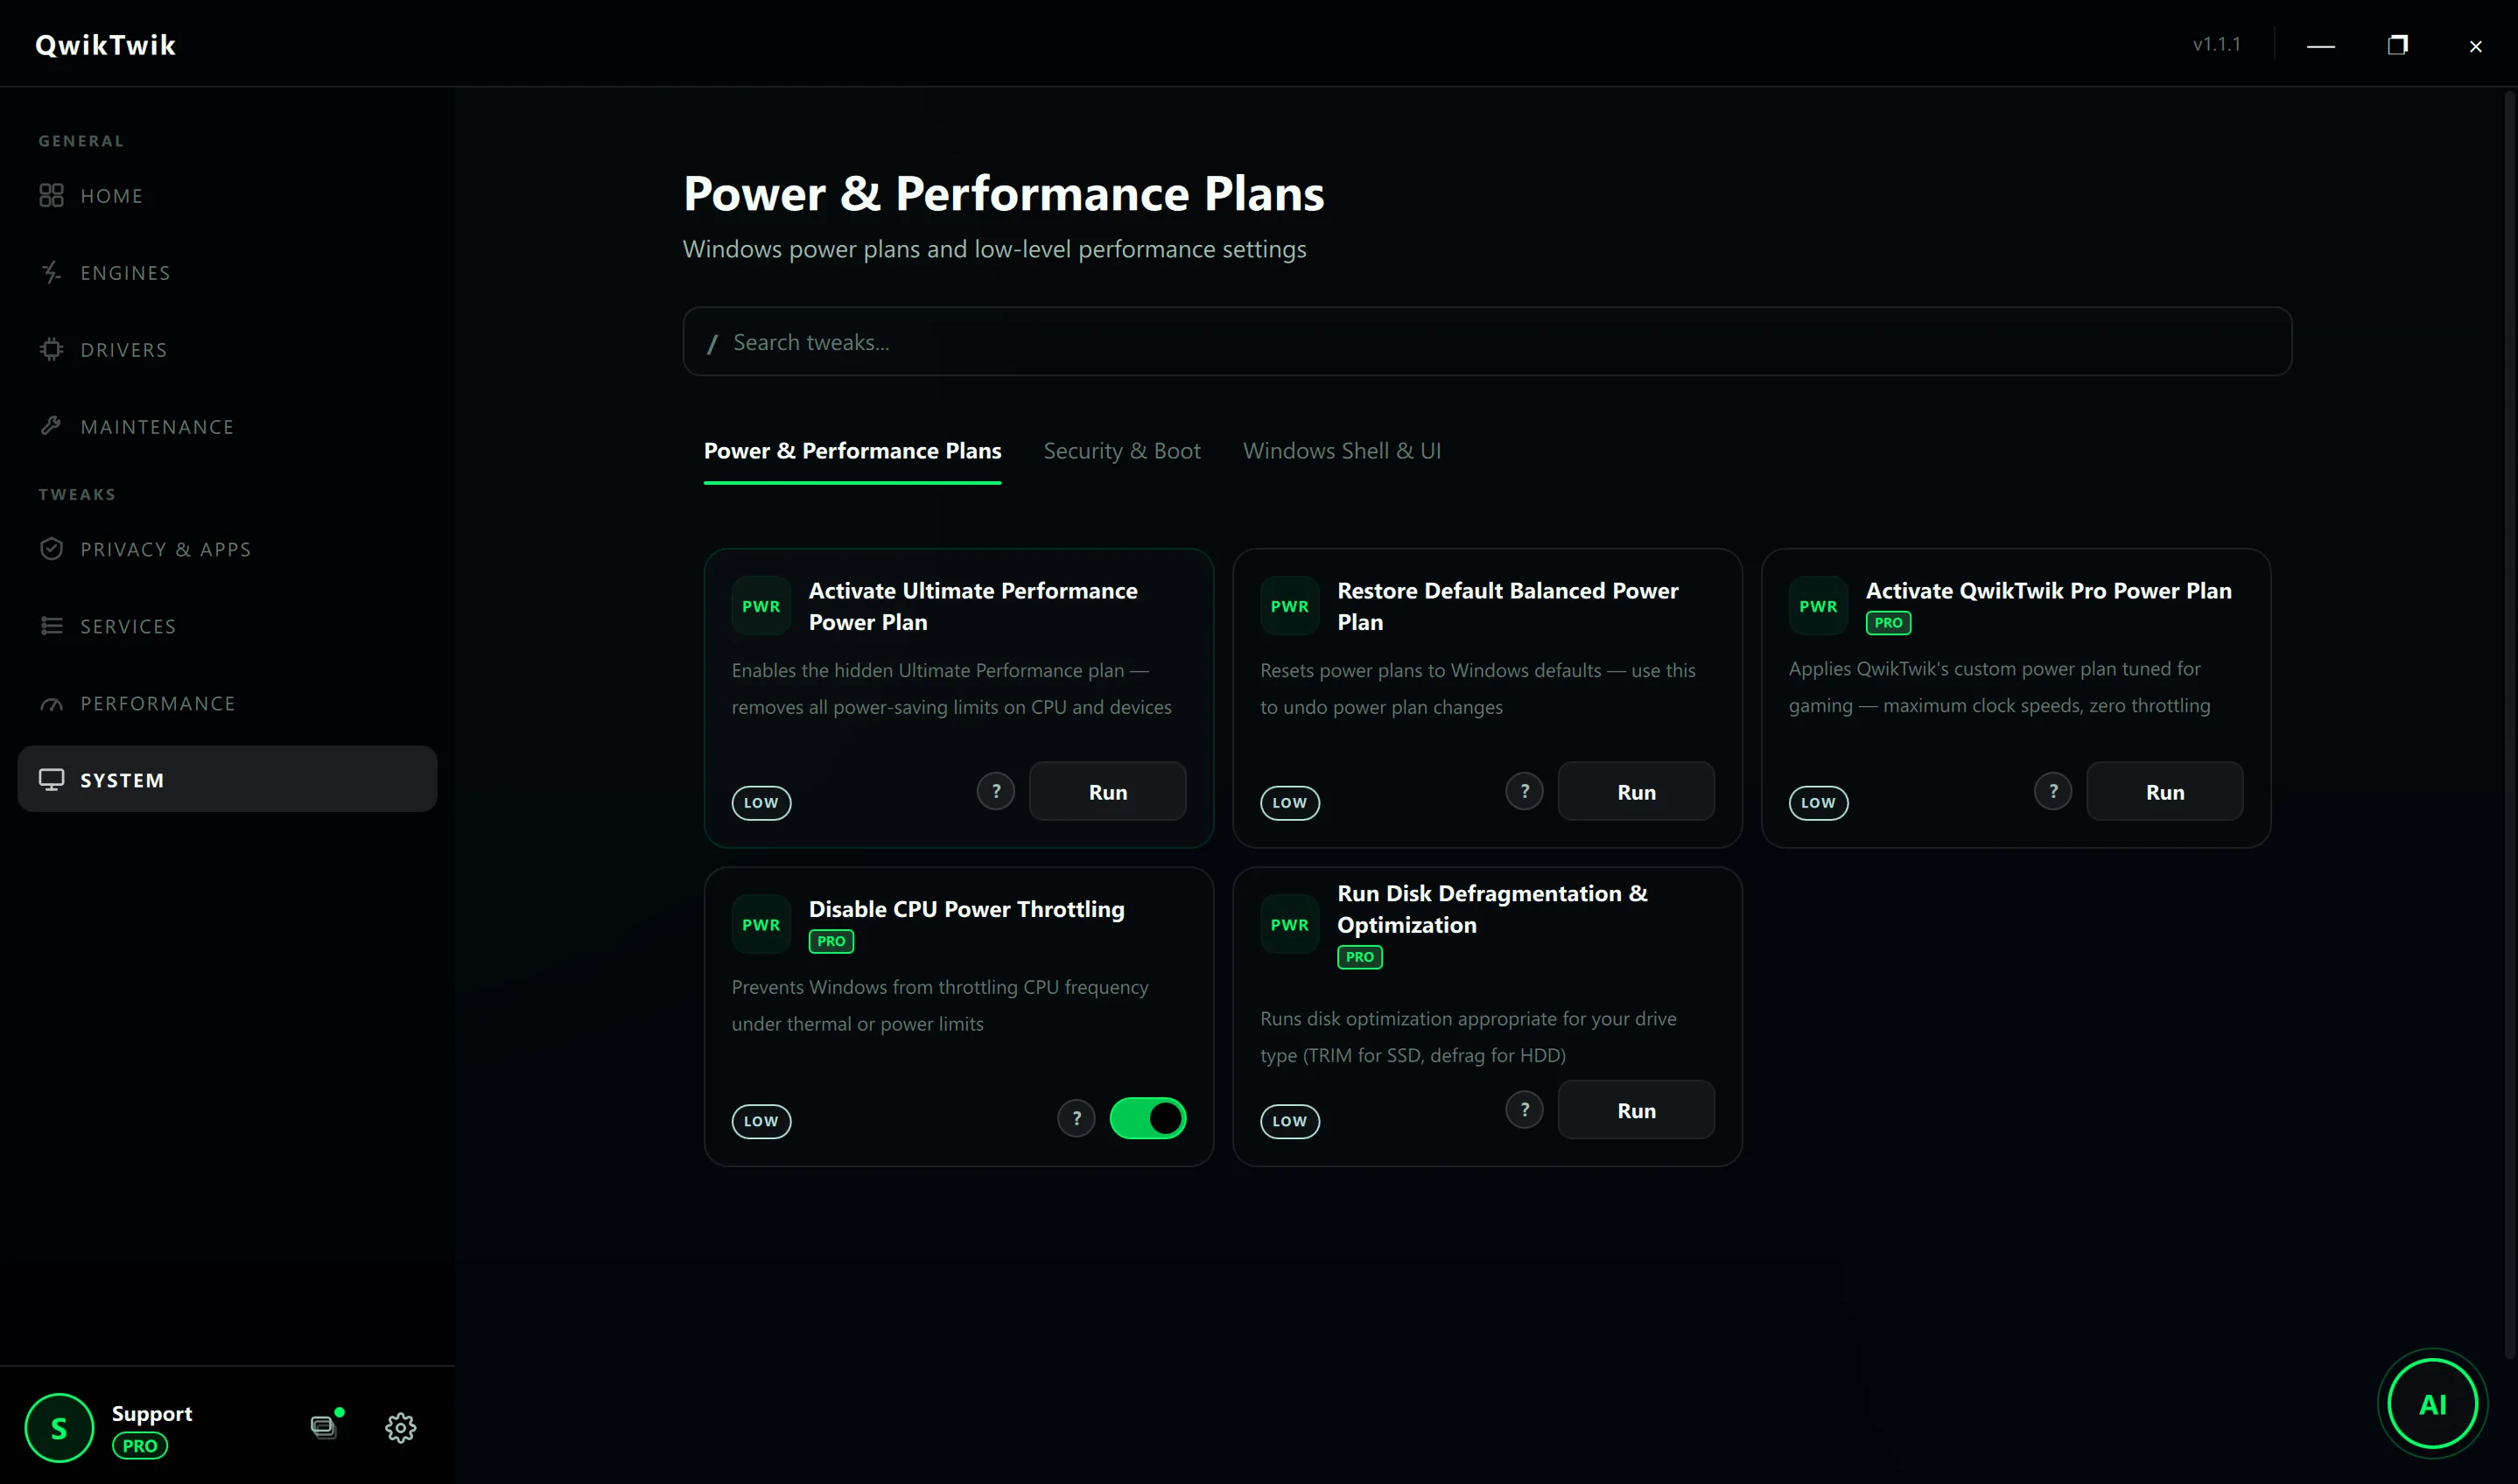
- System > Power & Performance Plans: Activate QwikTwik Pro Power Plan after thermals are verified.
- Performance > Graphics & Display: Enable Hardware GPU Scheduling (HAGS) on RTX 2000+ / RX 5000+ hardware.
If something breaks
- Maintenance > Repair & Recovery > System Repair: Restore Startup Tasks Policy, Restore Visual Effects Settings.
- Maintenance > Repair & Recovery > Service Repair: Restore Windows Defender Services if any pass disables them.
- Home > Backups: Open System Restore Wizard to roll back a bad batch.
Validation checklist
- Frame-time graph is more stable in the same map and same graphics preset.
- No new audio dropouts, USB disconnects, or random UI freezes.
- Average FPS and 1% lows improve or remain stable with lower jitter.
Common mistakes to avoid
- Changing power, services, and network policy all at once and losing track of impact.
- Using aggressive tuning on thermally constrained laptops without monitoring.
- Skipping reboot when a tweak requires service or policy reload.